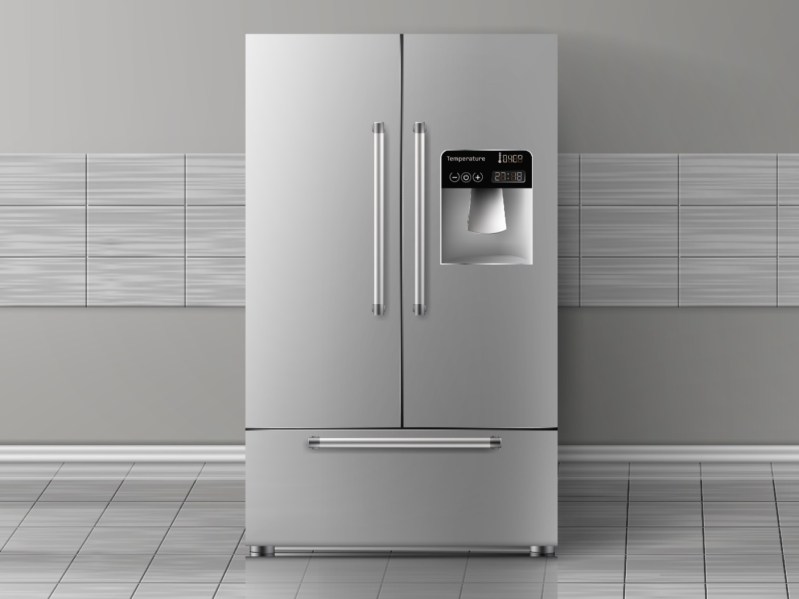
If you are lucky enough to have a refrigerator/freezer with an ice maker, I’m here to tell you that it’s absolutely disgusting. As annoying as empty ice cube trays are, I will take them any day over what is going inside the automatic ice maker in your freezer. Now that I’ve called out this nasty problem in your kitchen, here’s how to fix it.
Videos by Suggest
The Basics Of Cleaning Your Ice Maker
If your ice maker is popping out smelly, funky-tasting ice cubes, it’s time to give it a serious scrub-down. Honestly, even if your ice isn’t stinky or foul-tasting, you should still put your ice maker on your spring cleaning list.
Refrigeration experts say you should be cleaning your ice maker at least twice a year. And if you have hard water, you should be cleaning it even more often. That’s because deposits from hard water can form on the coil, which can impact the ice-making process by preventing the coil from freezing the water.
1. Remove The Leftovers And Unplug
Before you begin, clear out all of the unwanted items from your fridge and freezer and wipe up spills. Your ice maker might be nasty, but those old leftovers in the back of the fridge aren’t helping. A clean appliance will produce the best-tasting ice, while nasty old food can transfer its foul odor and taste to the cubes—gross!
Next, unplug the fridge and transfer everything to a cooler so you can clean the ice cube bin.
It’s possible this part might pull right out of the freezer like a drawer. Or, you might have to lift it up gently before removing it.
Once you get the bin out, dump the ice into the sink. And if there is anything else you can easily remove—like a drip tray—go ahead and do it.
2. Uses Warm, Soapy Water Or Baking Soda
To clean the bin and other removable parts, use a washcloth and warm, soapy water. Or, you can make a cleaning solution by dissolving two tablespoons of baking soda into a gallon of warm water.
When you are finished cleaning these parts, rinse them well and set them aside so they can air dry. Make sure they are completely dry before you put them back in the freezer!
While you have the warm washcloth in hand, use it to remove any ice that is frozen to the ice maker itself. You can also use an ice pick to do this, just be careful not to cause any damage.
Once all of the ice is cleared from the ice maker, use that washcloth and warm, soapy water—or a solution made from equal parts water and distilled white vinegar—to clean the exterior.
Wipe down every part that you can, and then grab an old toothbrush to reach the parts the washcloth can’t. When you are finished, use a dry cloth to wipe away any remaining moisture.
3. The Final Steps
Before you put everything back together, check your ice maker’s water filter to make sure it’s not clogged from all those minerals. In addition to impacting your ice maker’s performance, a dirty filter will affect the taste of your ice.
Finally, plug your fridge back in and let your ice maker run through its cycle two or three times, while throwing the cubes away. Then, let your squeaky clean ice maker go back to making the clean, tasty ice that you deserve.
